Agile Work Management
Enhanced Risk Planning and Ownership
Follow these steps to configure Risk Repository and manage risks
-
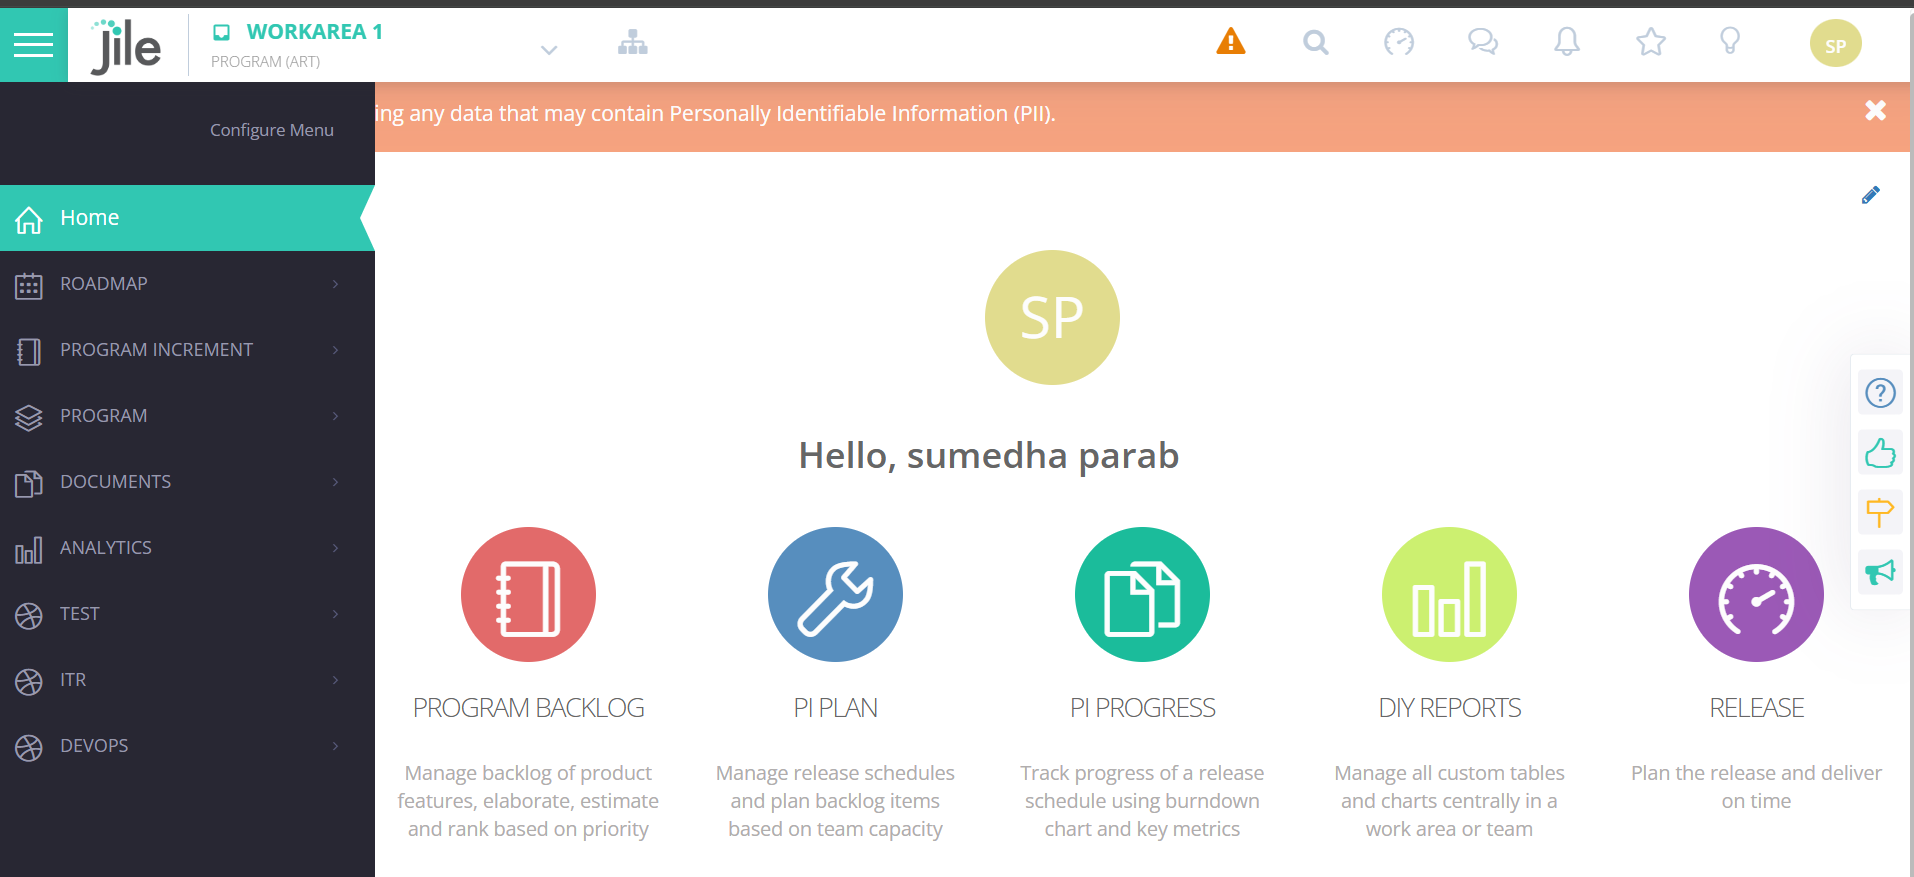
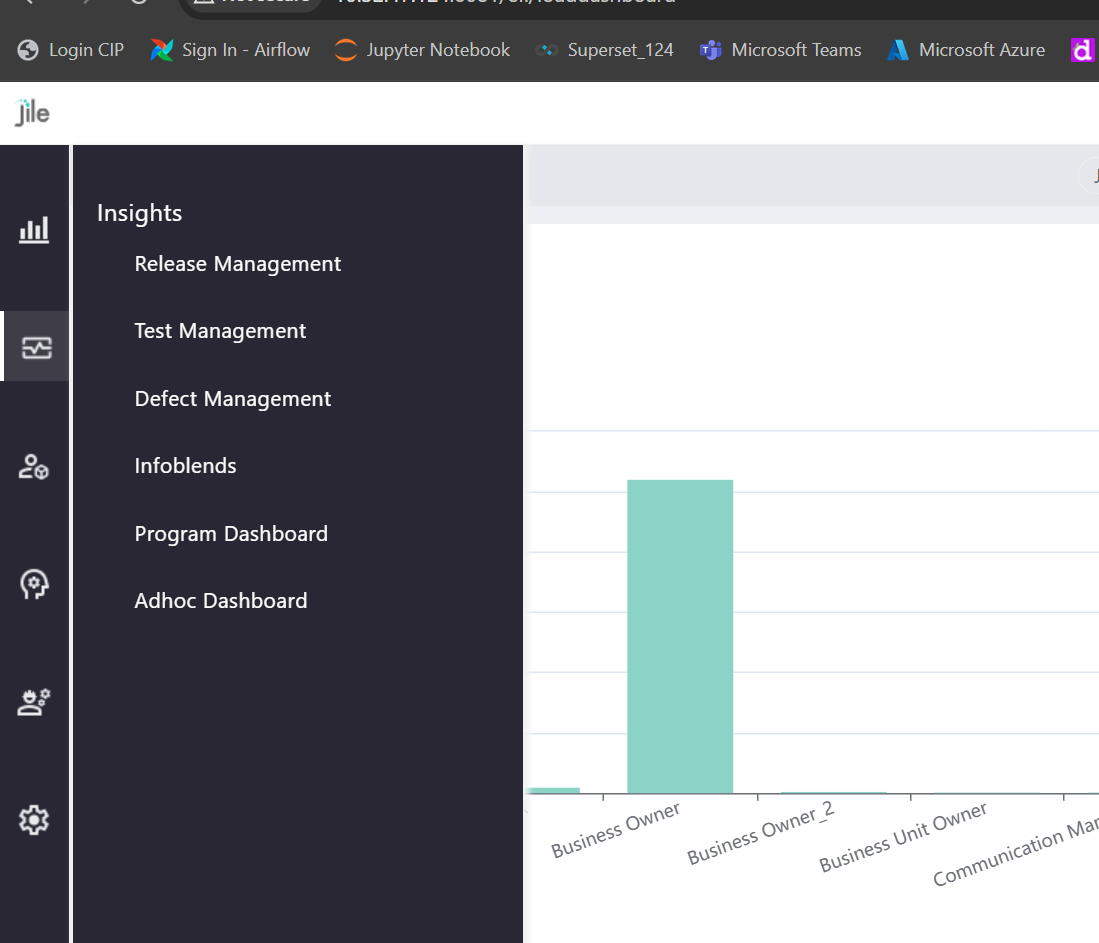
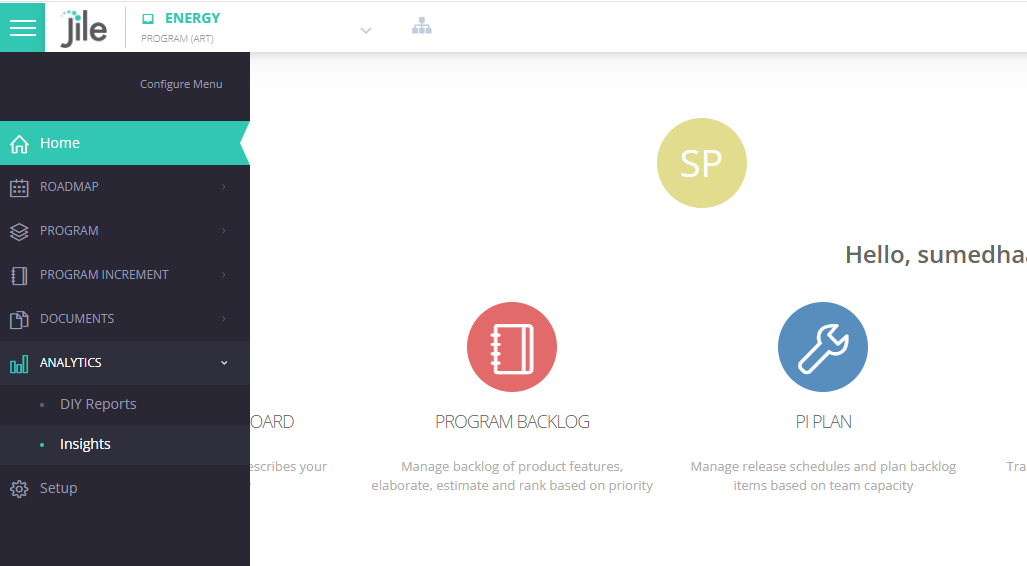
1: Login to Application and Click on Configure Menu and Add Function
-
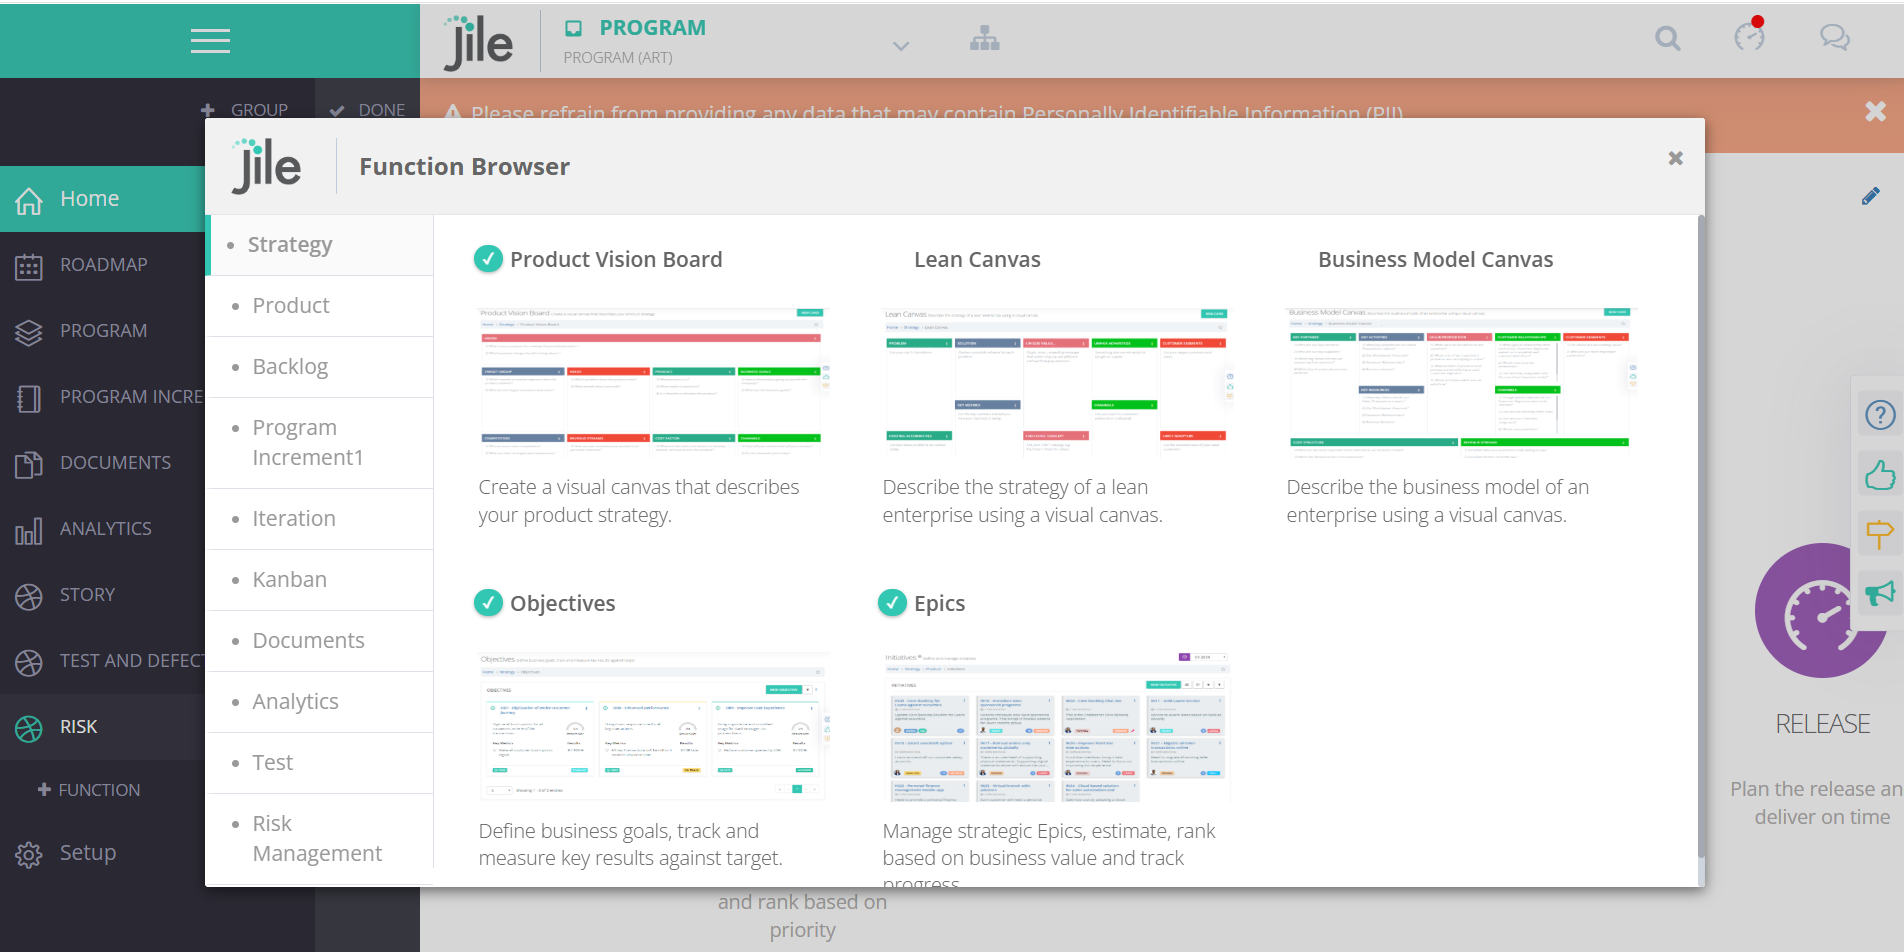
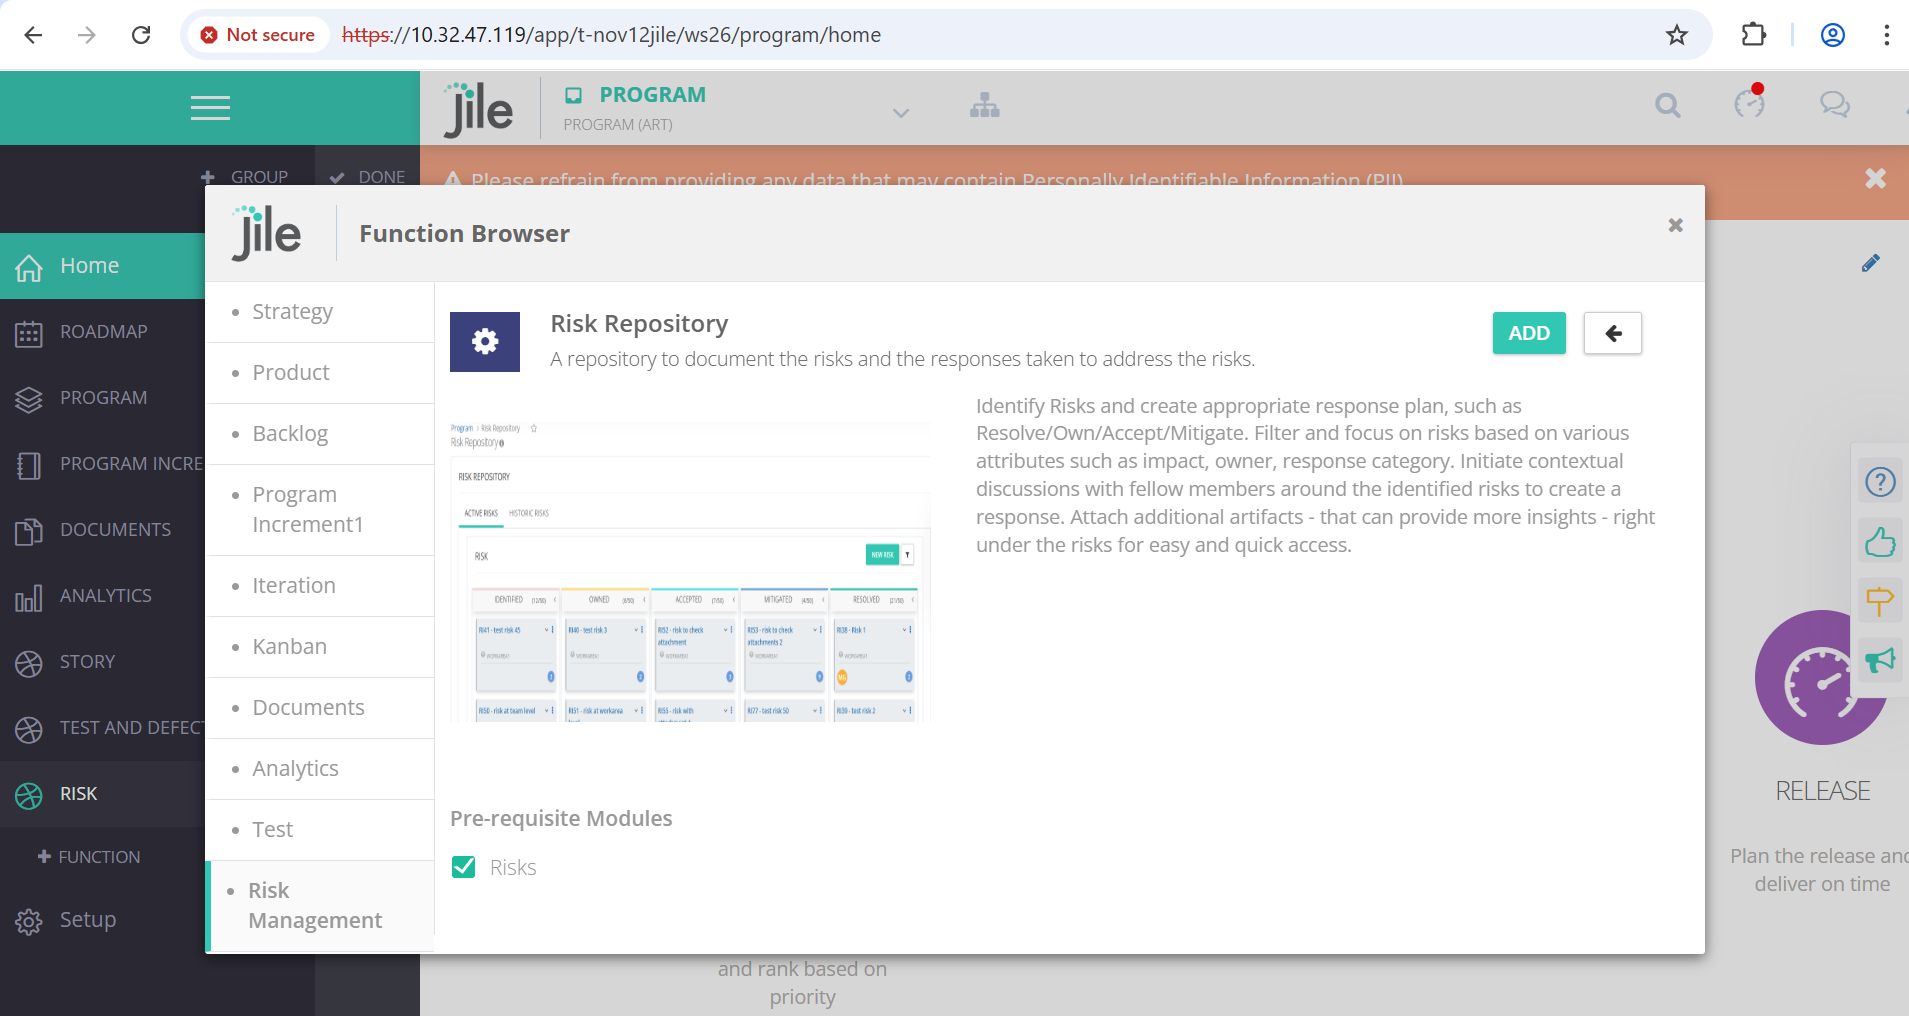
2: Move to Risk Management and Add Risk Repository to the Menu.
-
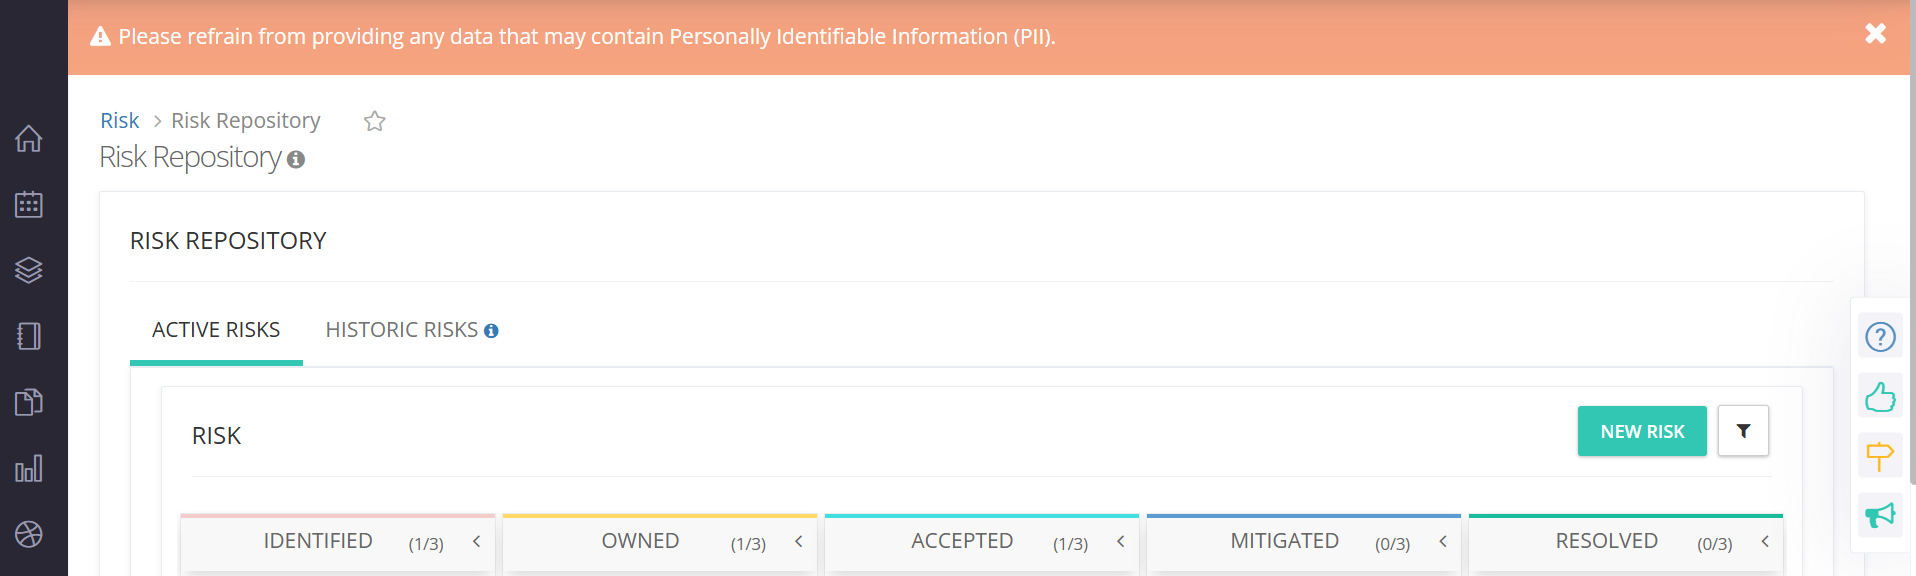
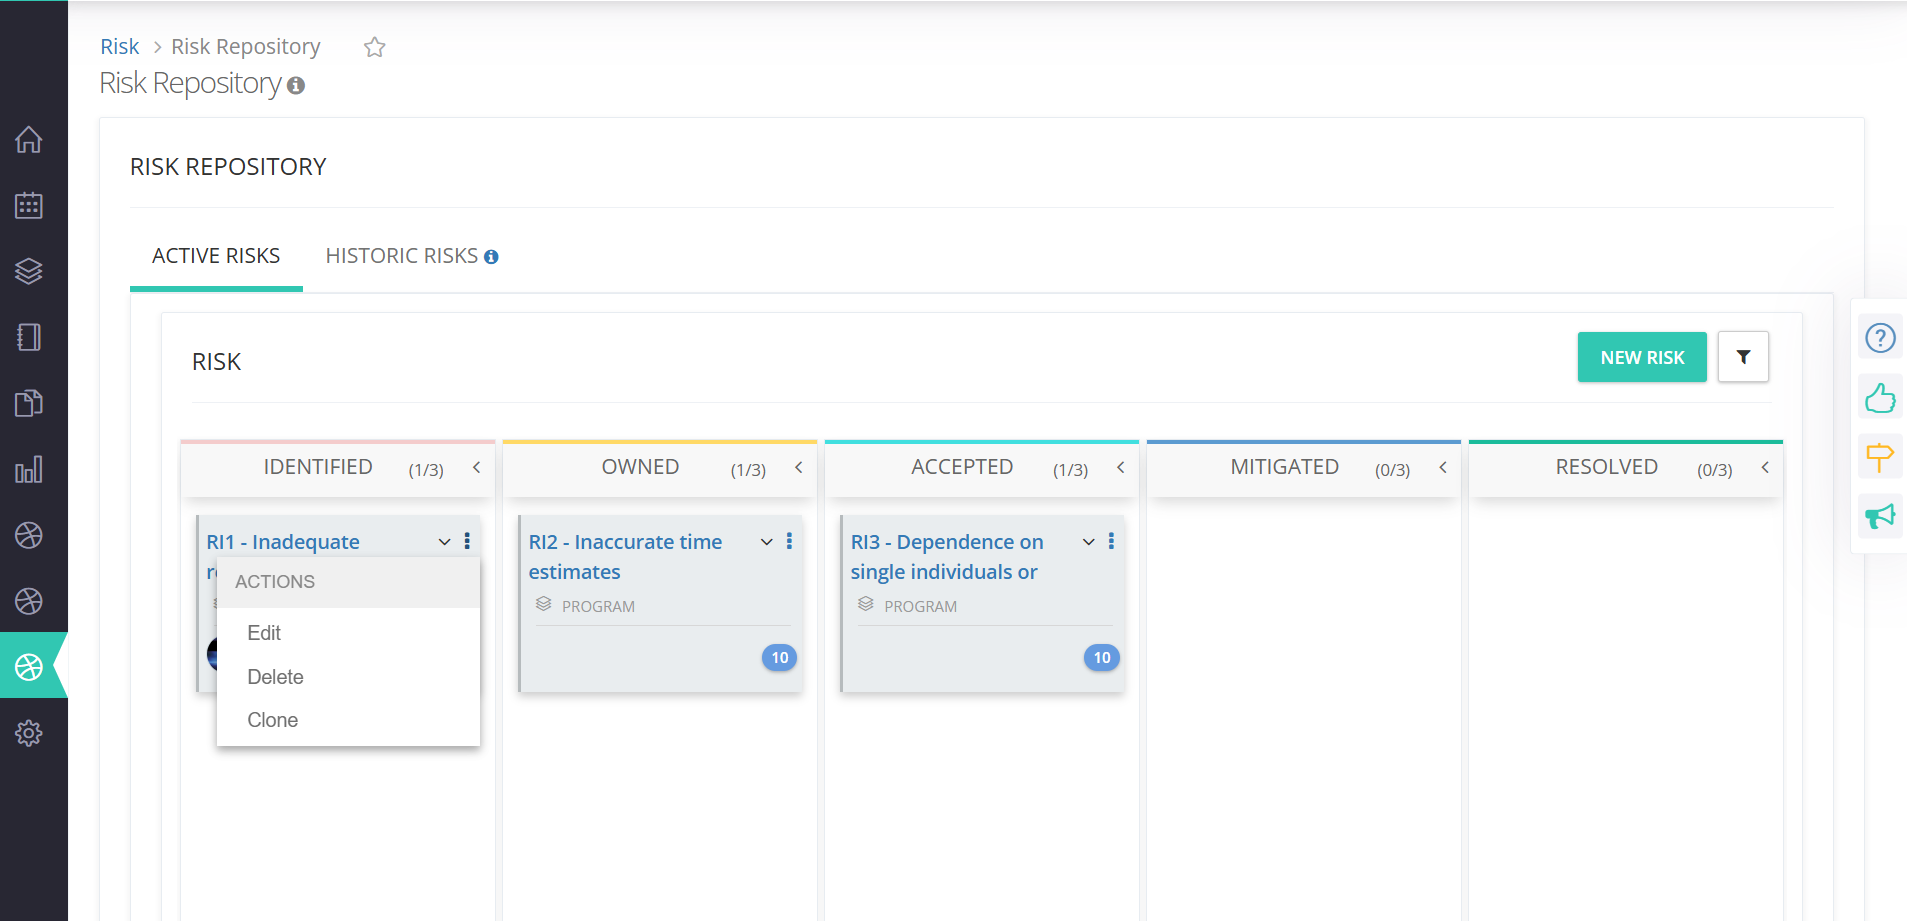
3: User will be able to view Active Risks and Historic Risks tab.
-
4: Under Active Risks, User will be able to View, Create, Update, Delete and Clone Risks
-
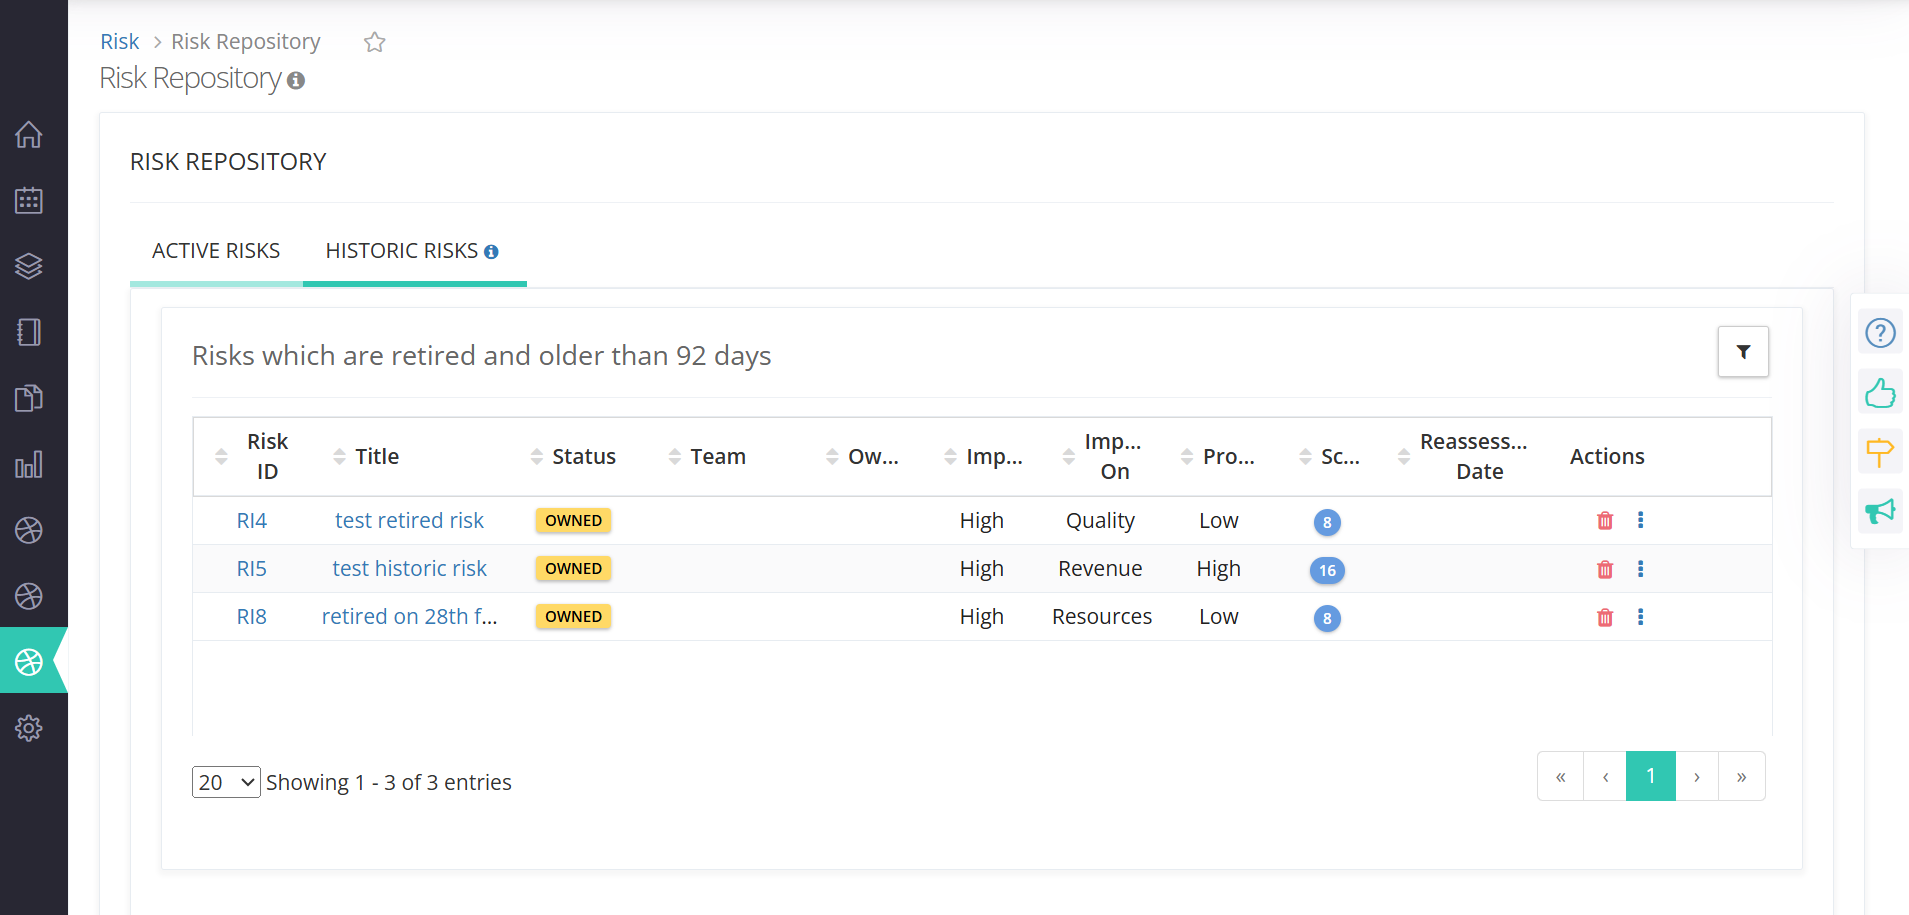
5: Under Historic Risks, User will be able to view list of all historic risks in a Grid View
-
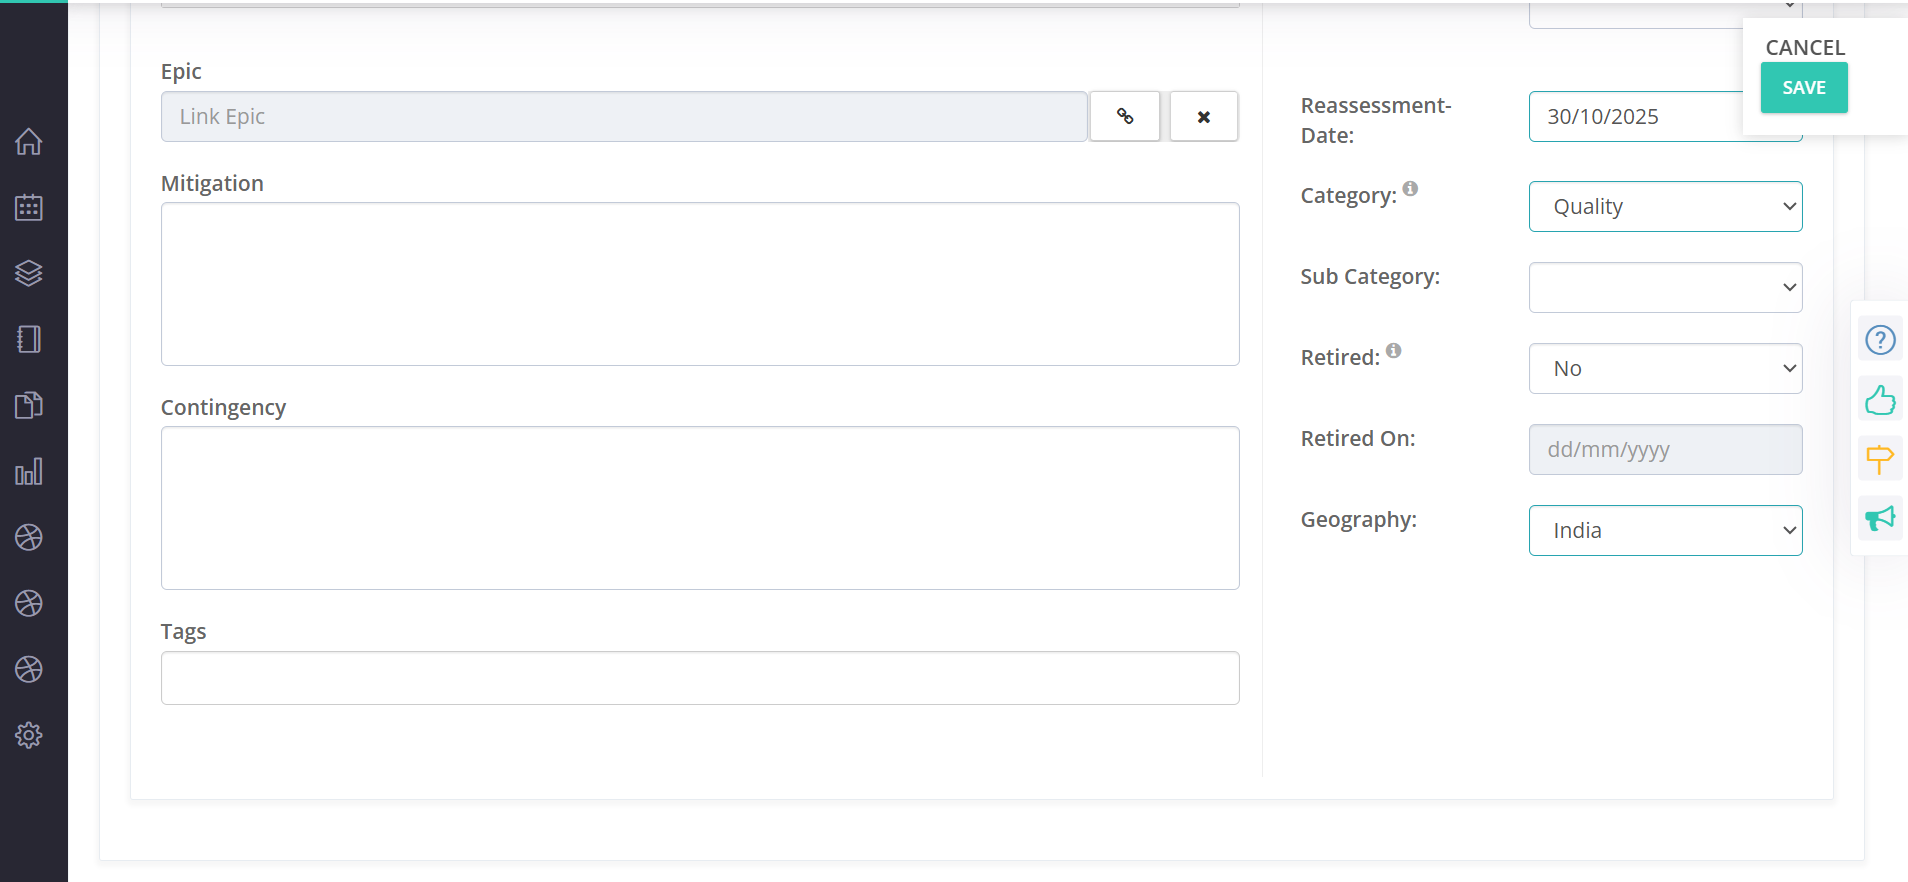
6: To link an Initiative to a risk, Open a Risk in Single Page View and click link Initiative.
-
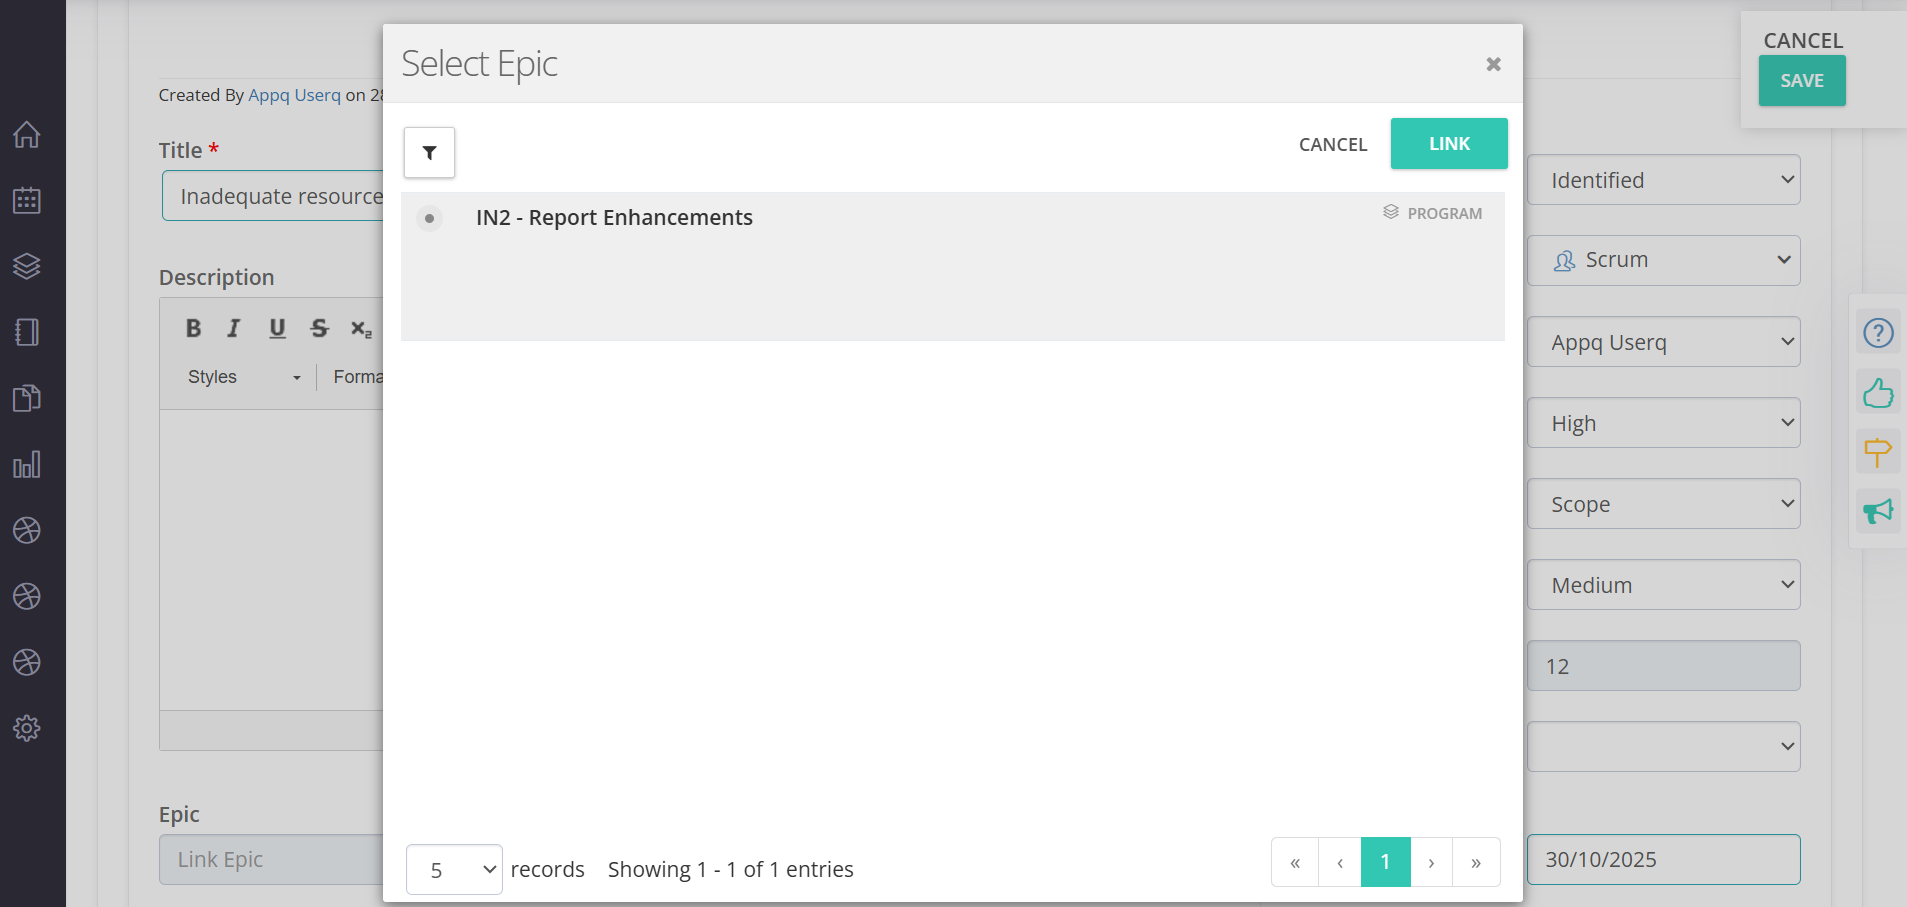
7: Select the required Initiative to be linked and click on Link button
-
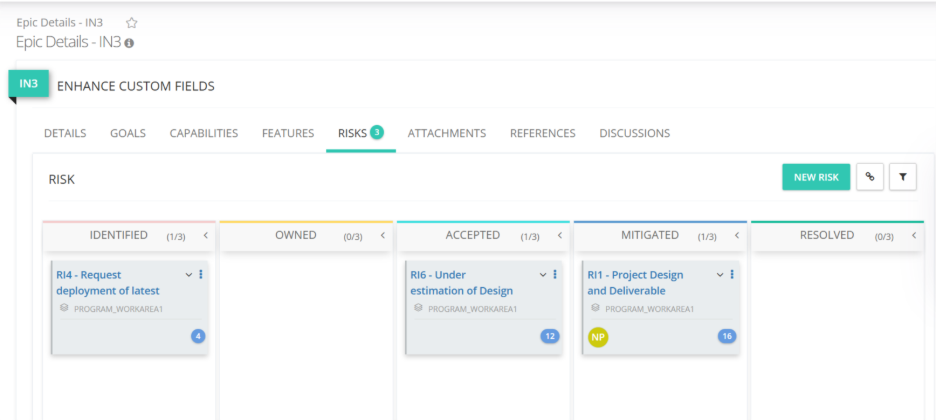
8: You can also link Risks to Initiative under Risks tab of Initiative Single Page View.
-
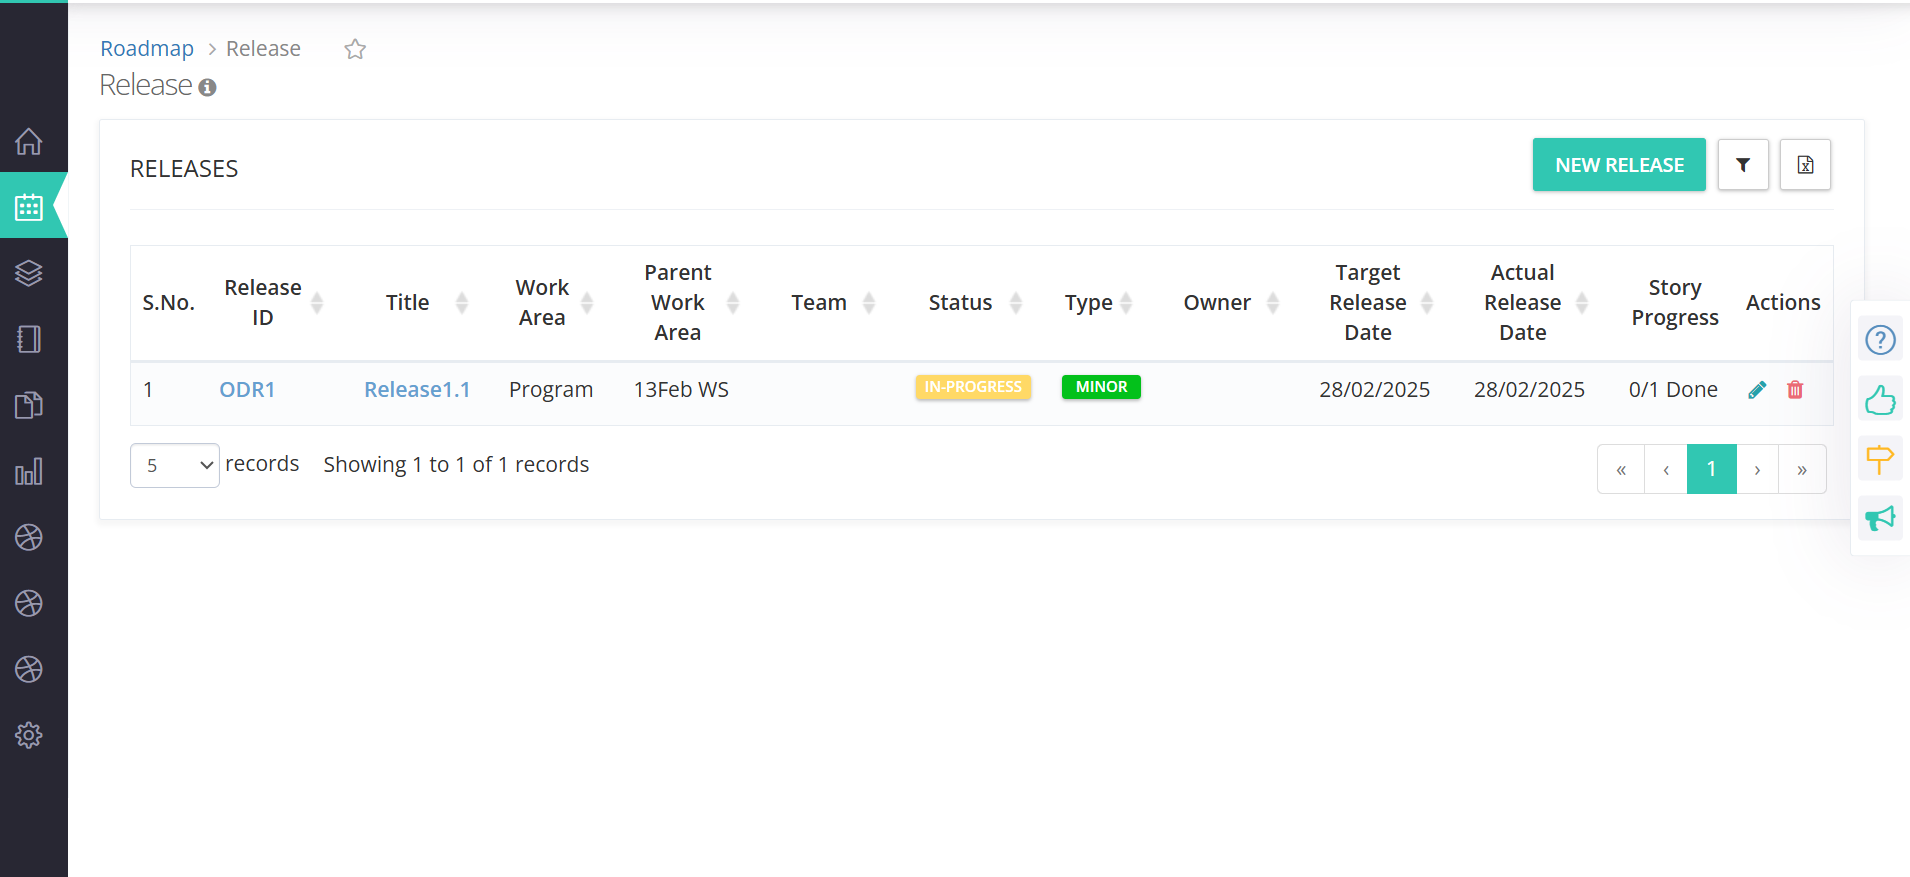
1: On the left pane, navigate to On Demand Release.
-
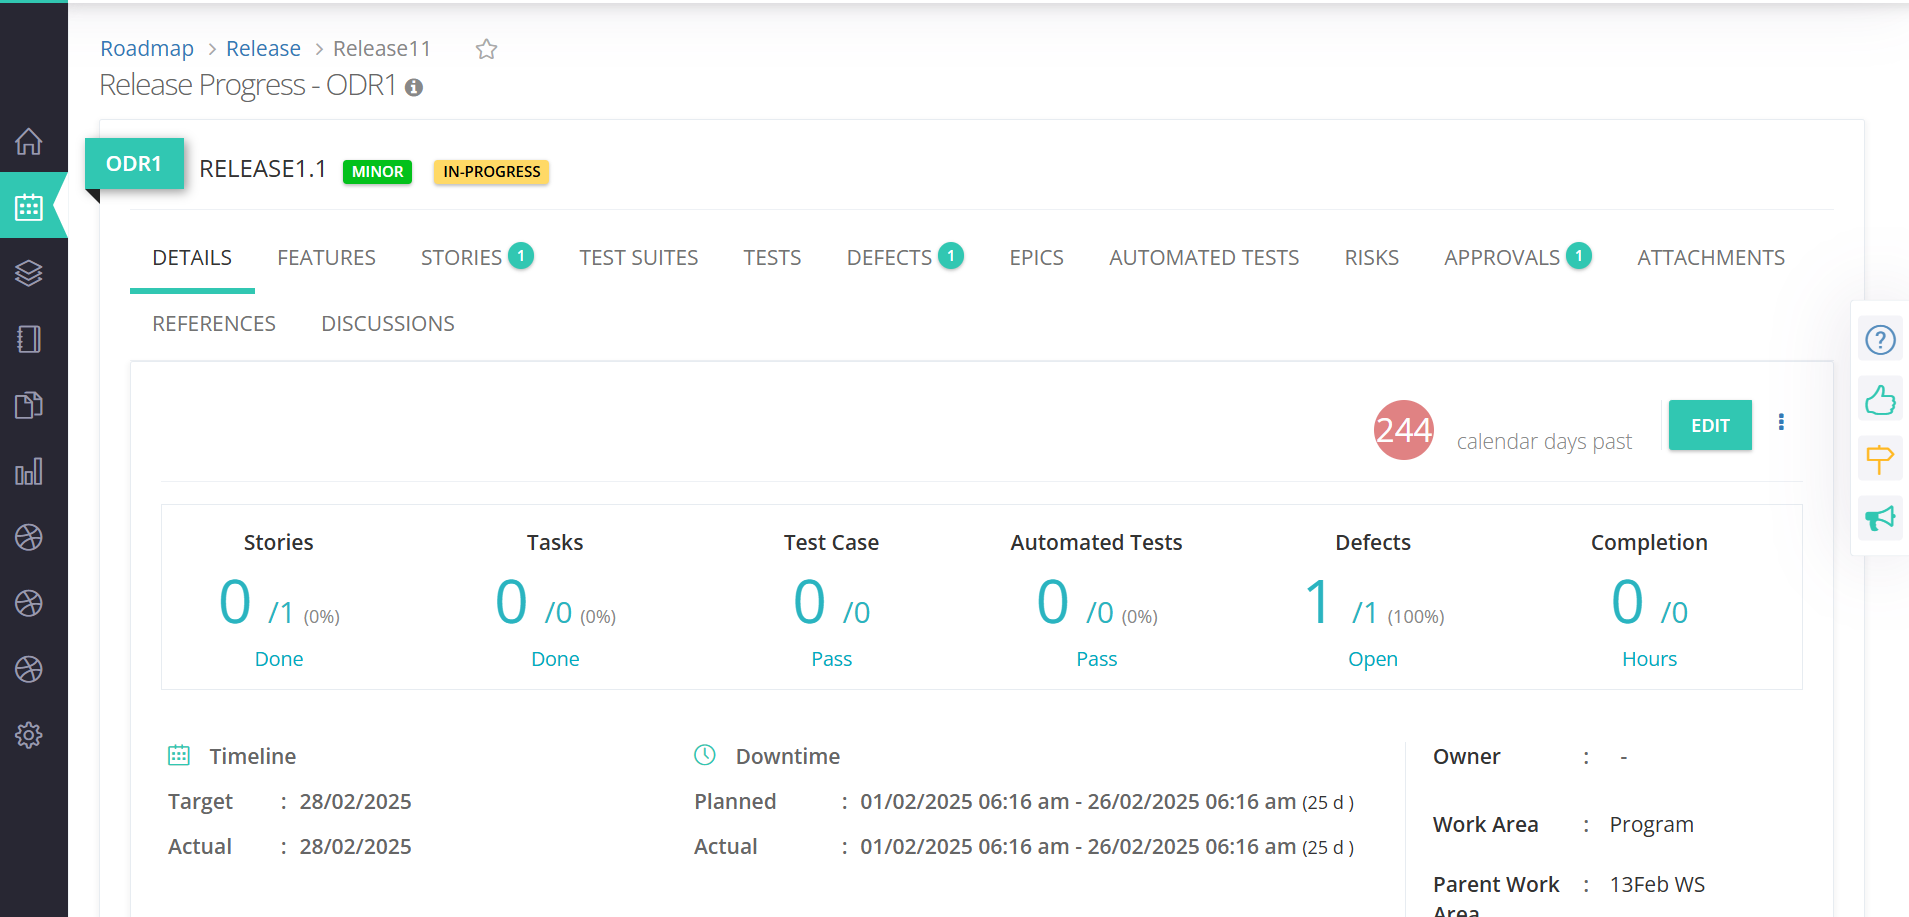
2: Open the ODR to which you want the Approval to be linked.
-
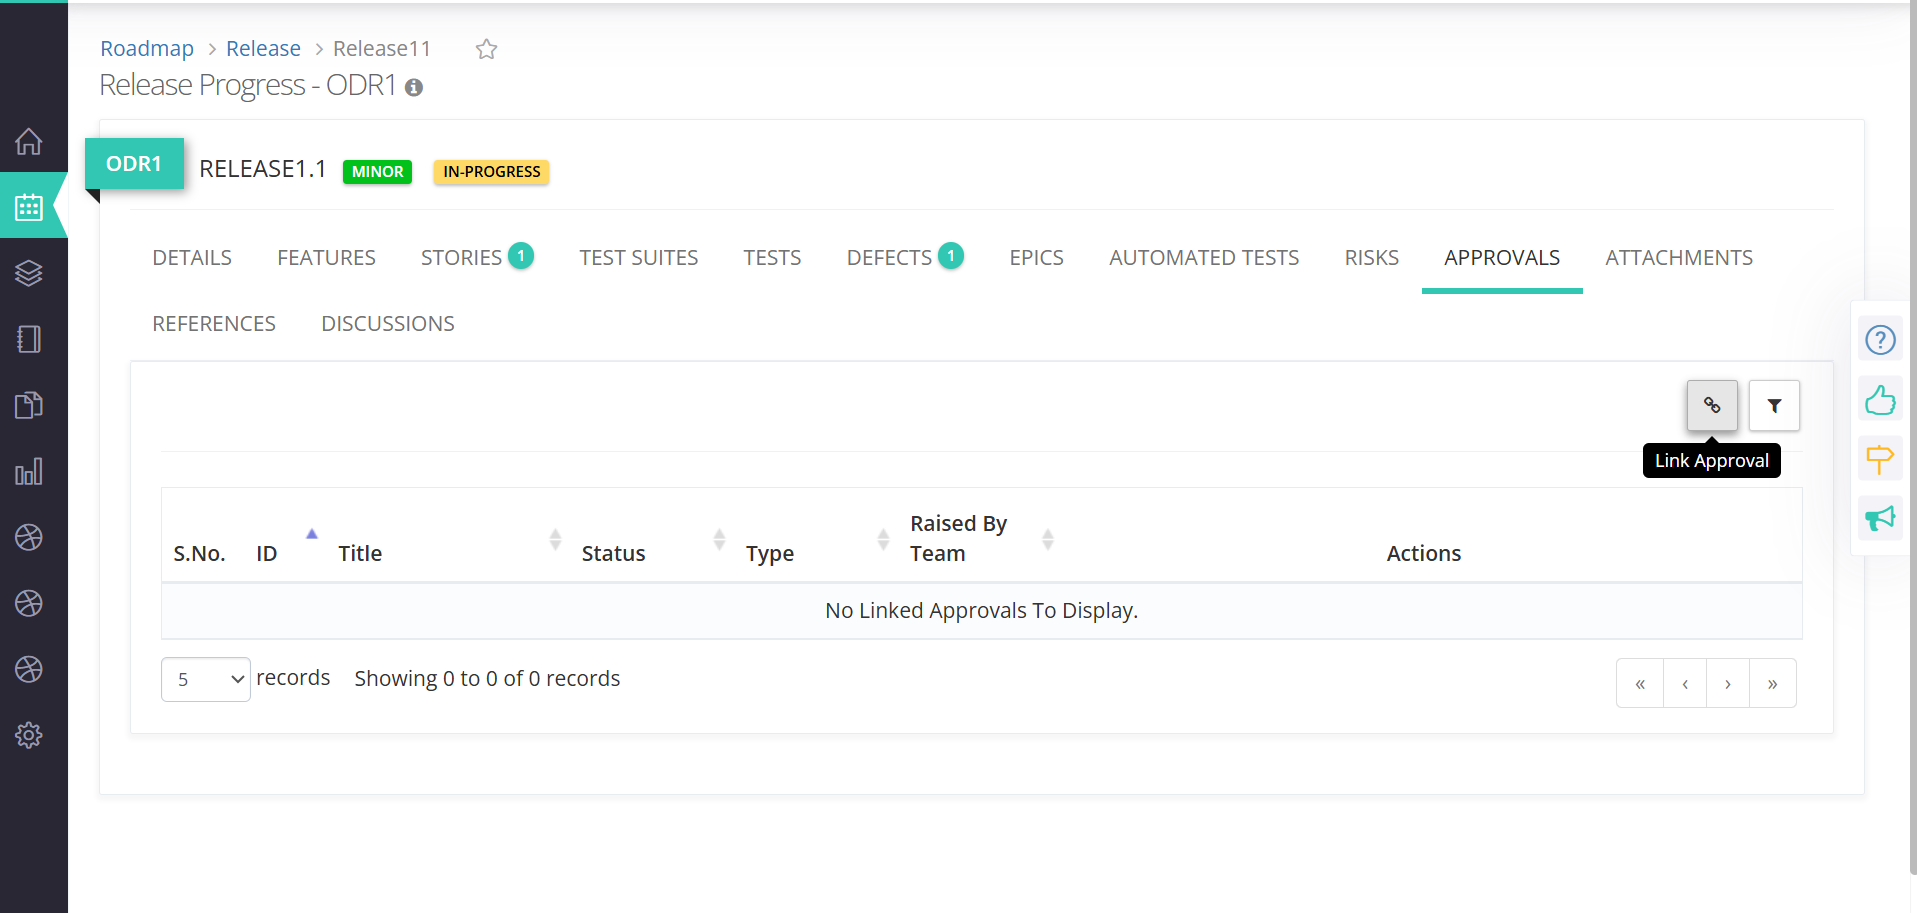
3: Click APPROVALS tab -> Link Approval icon.
-
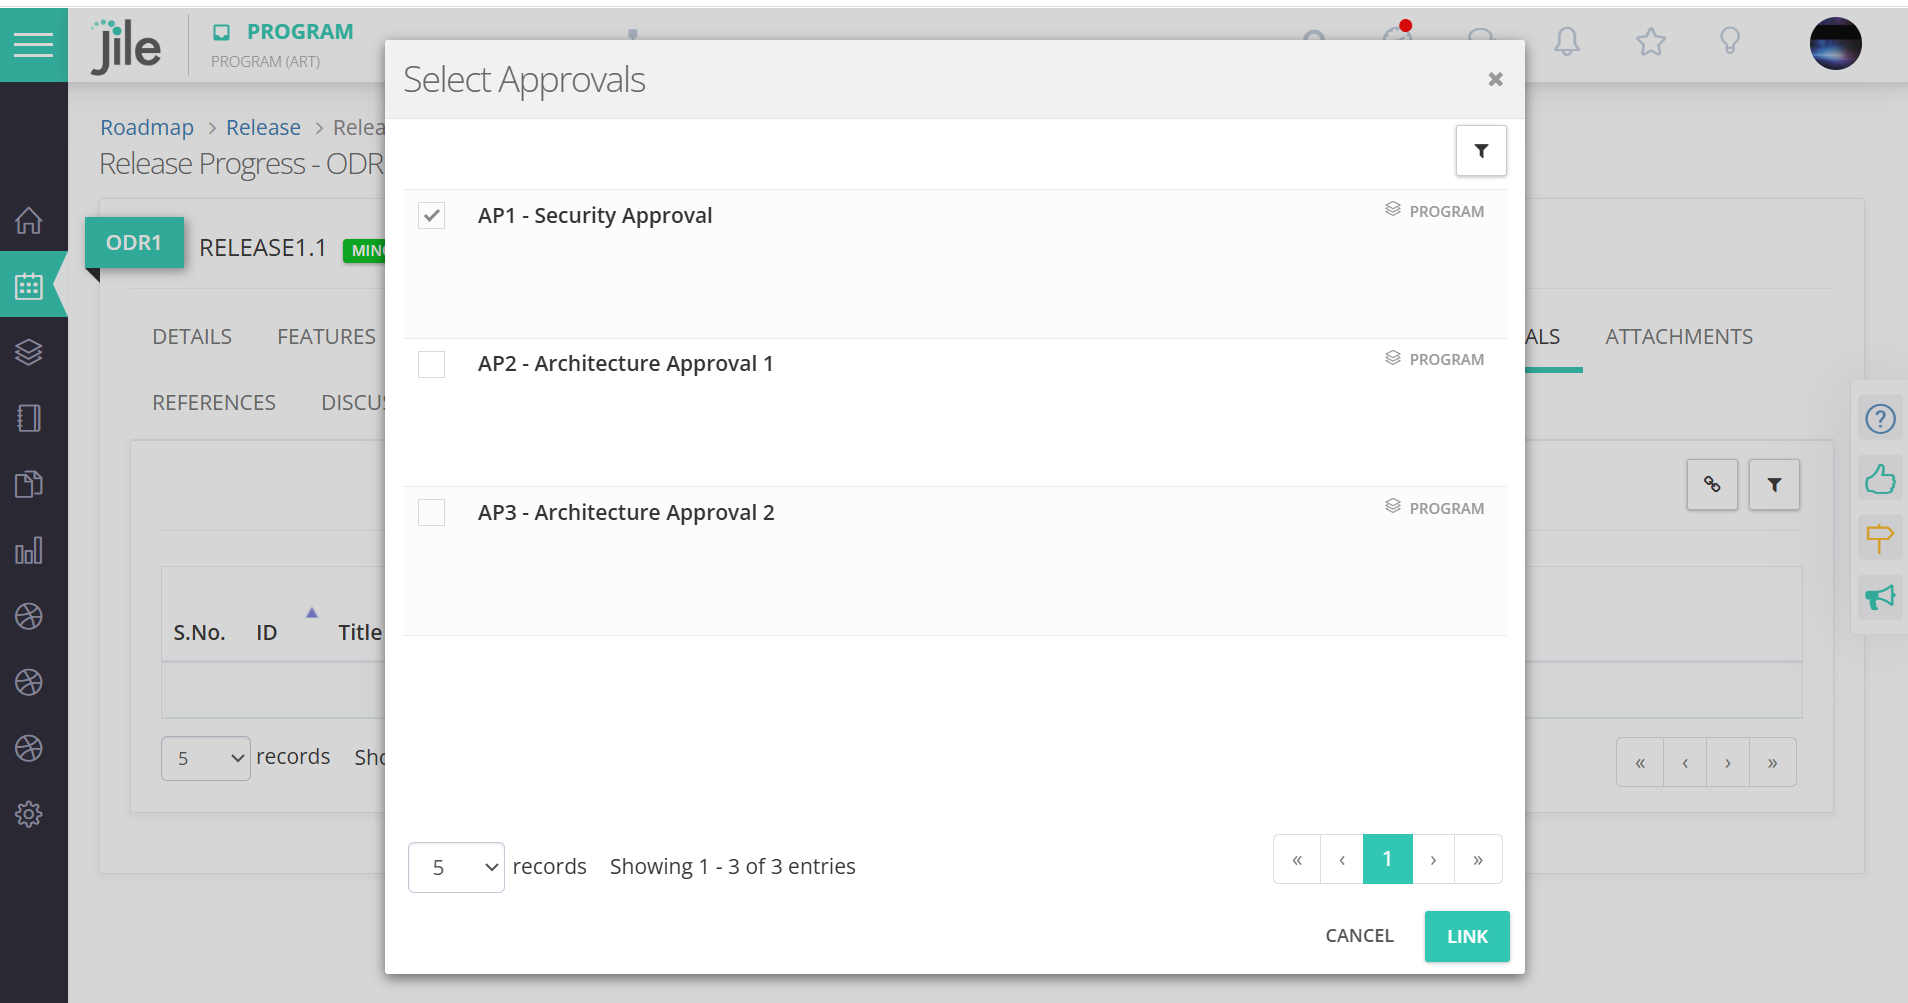
4: Select the required Approvals and click on Link.
-
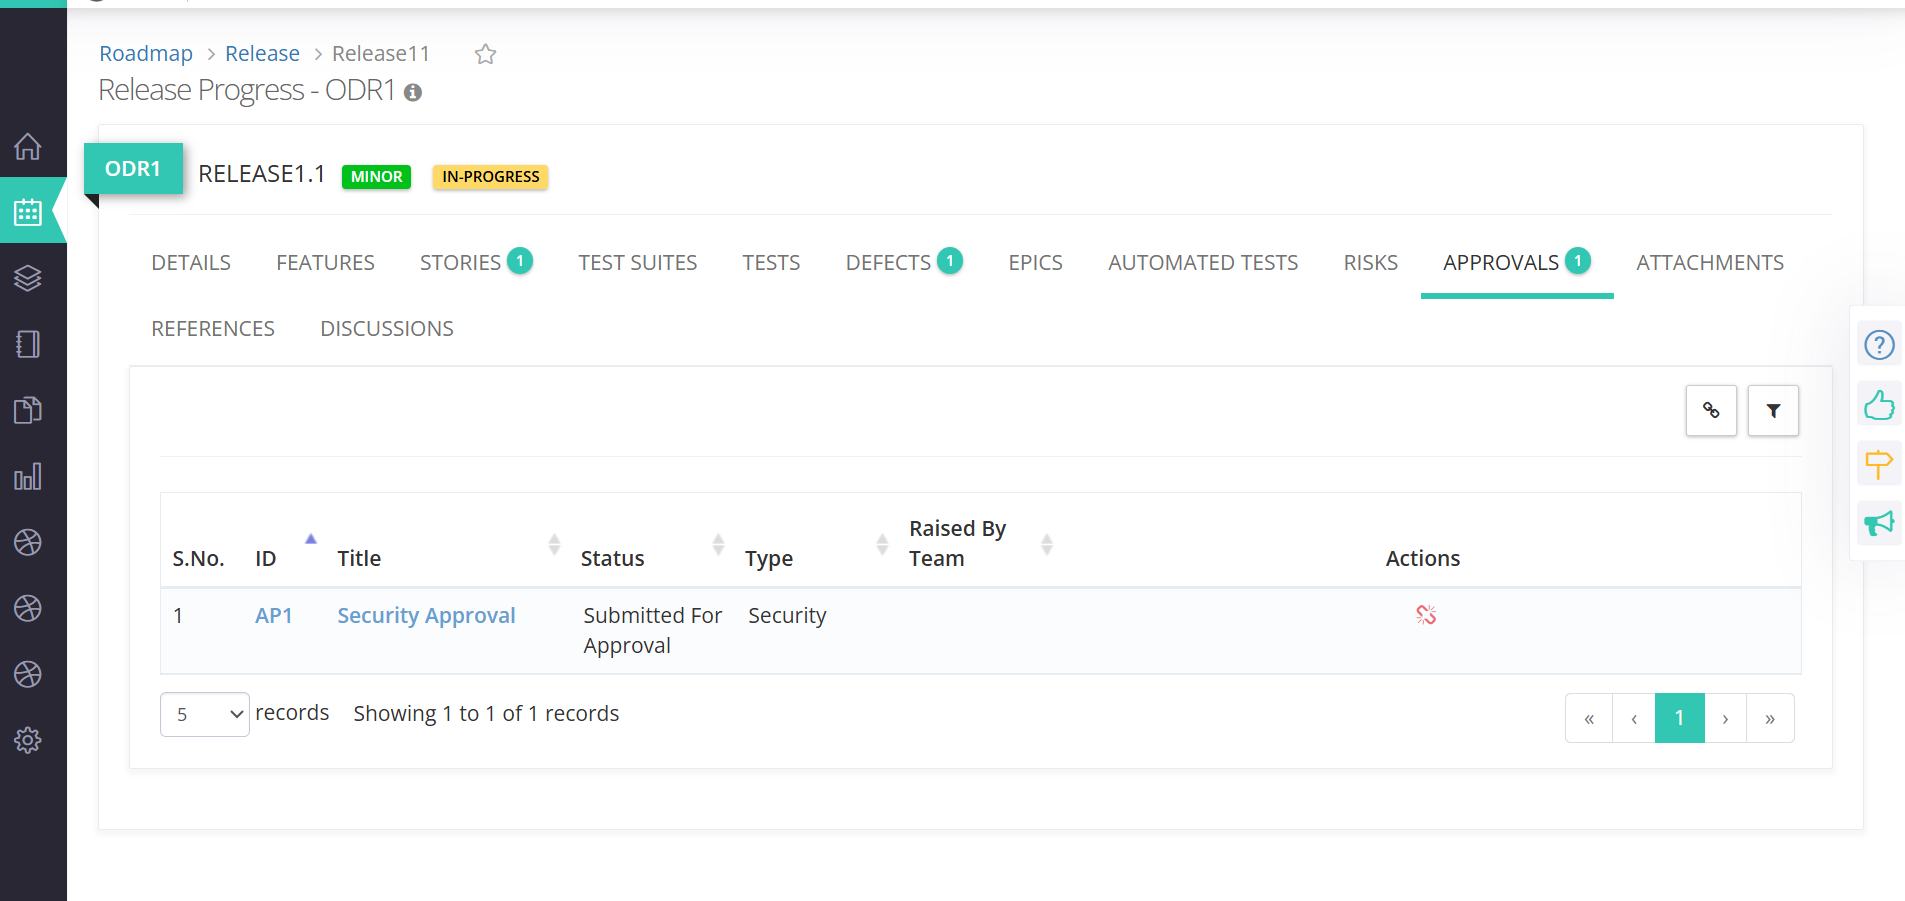
5: The selected Approvals are now tagged to ODR.
-
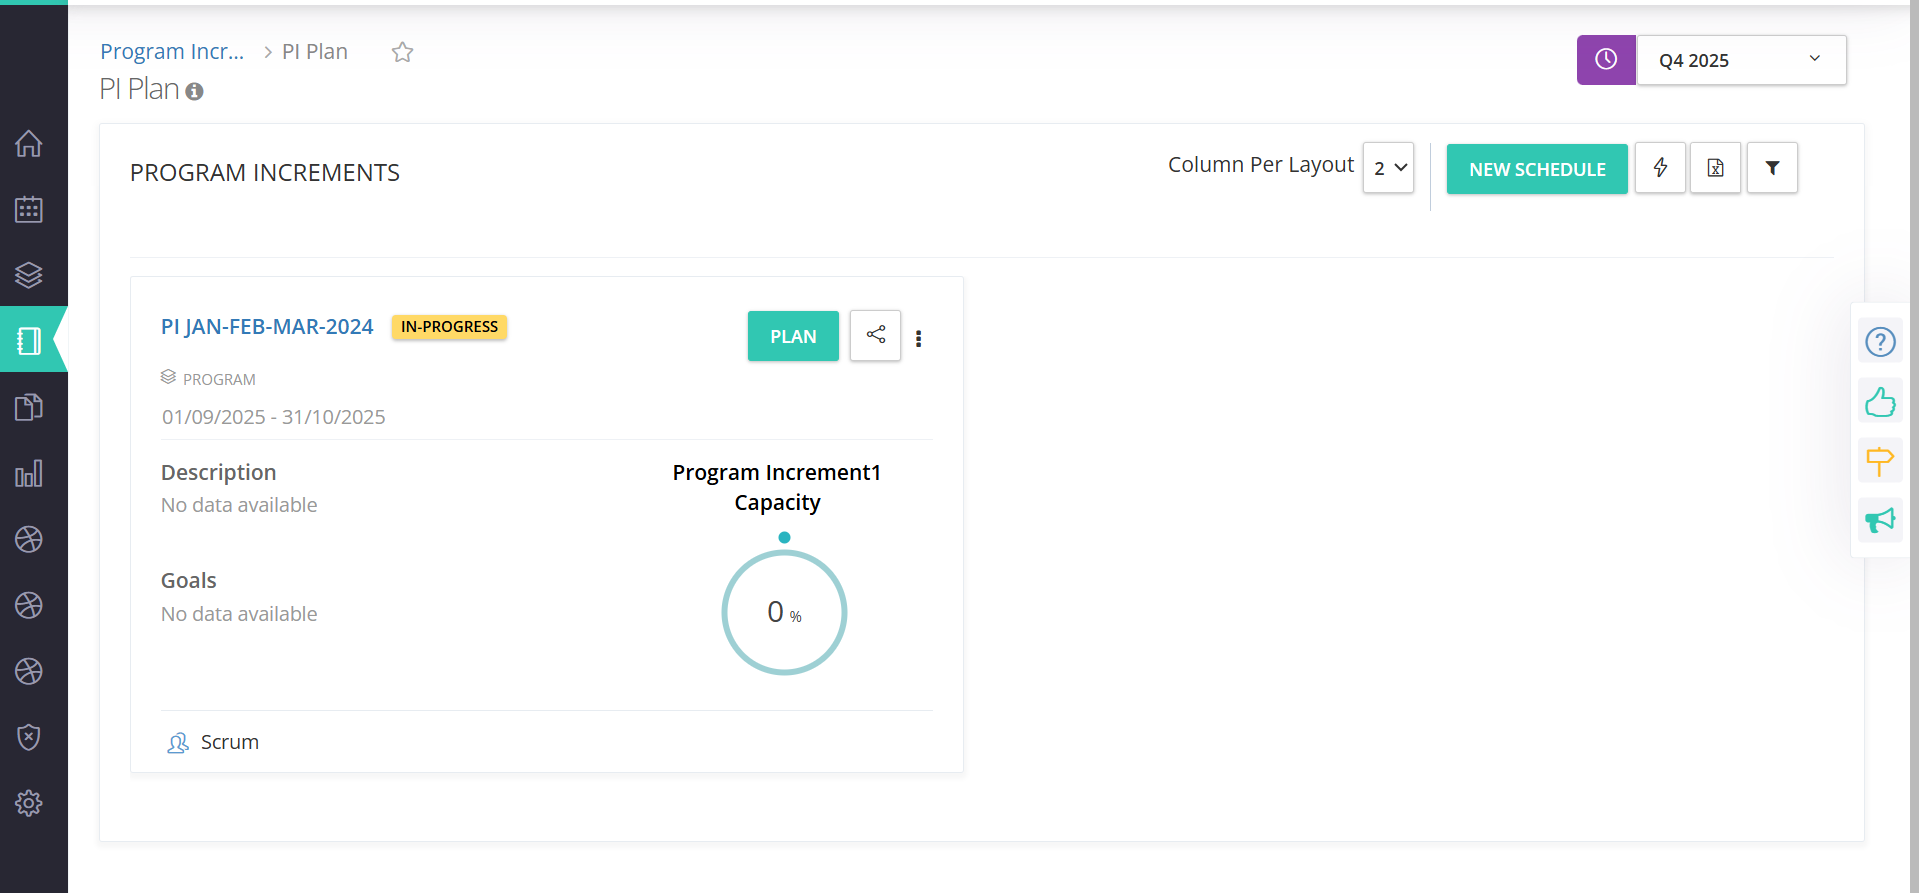
1: On the left pane, navigate to Program Increment->Plan
-
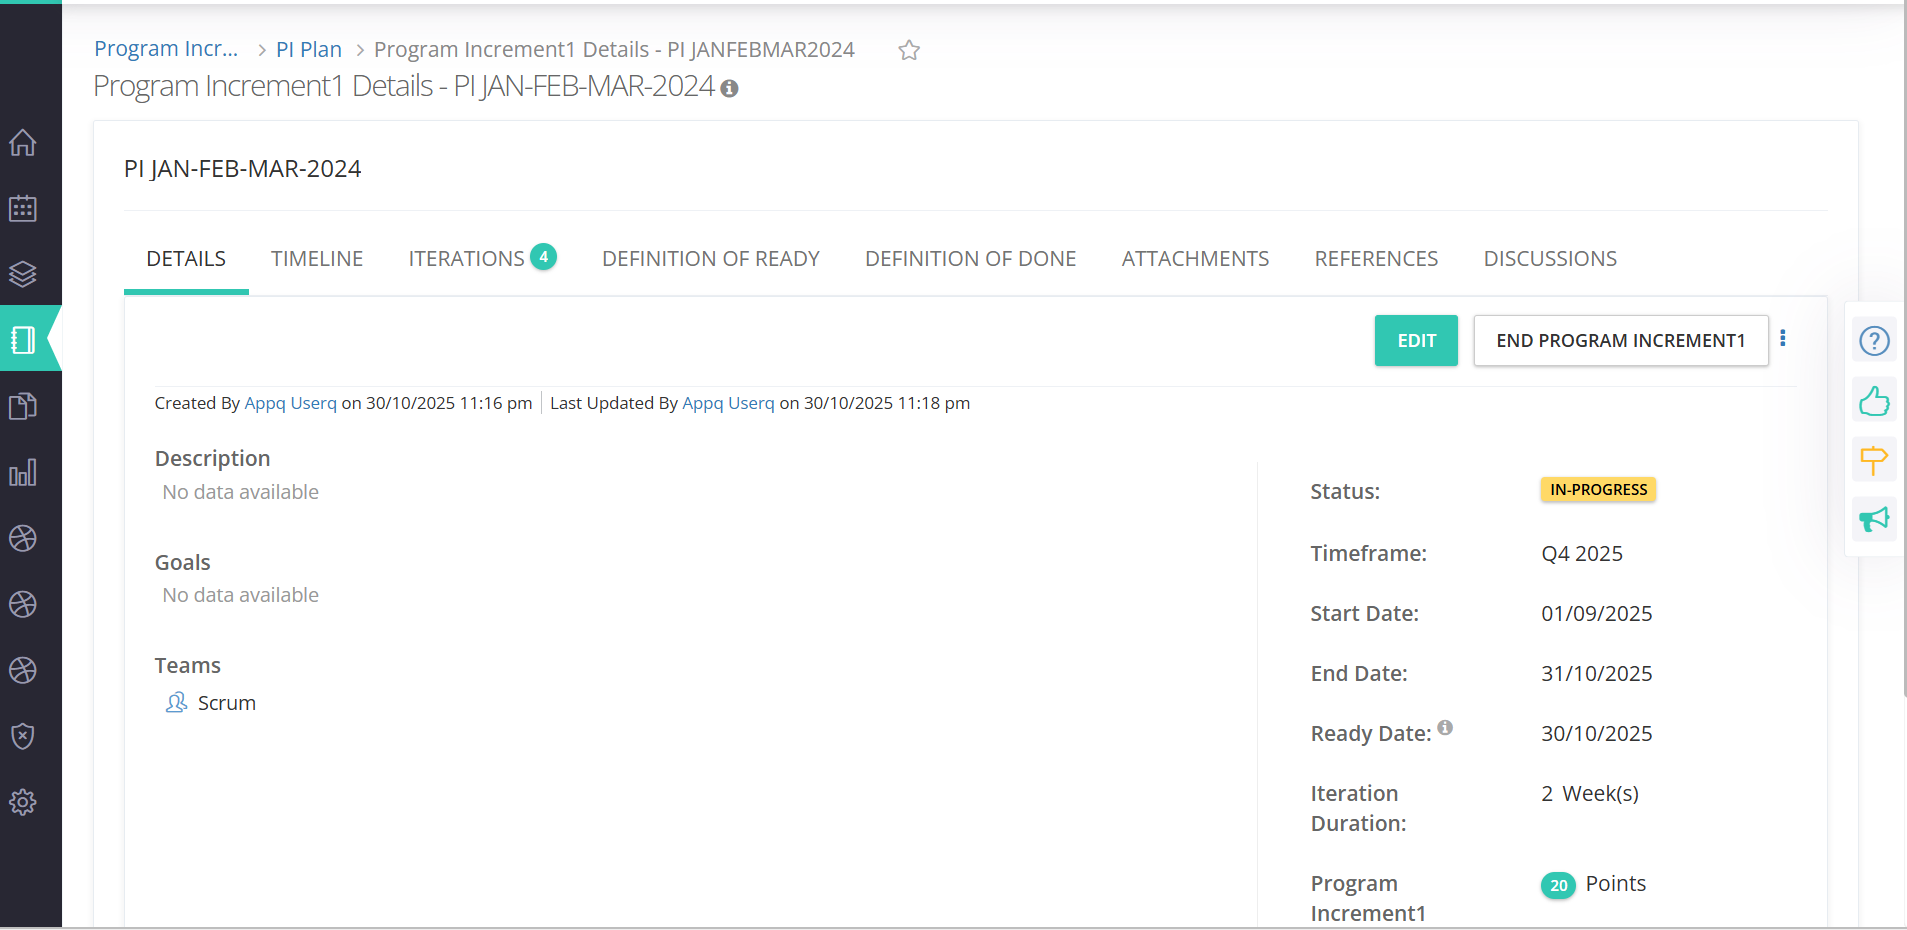
2: Open a Program Increment for which the Gantt chart is being viewed
-
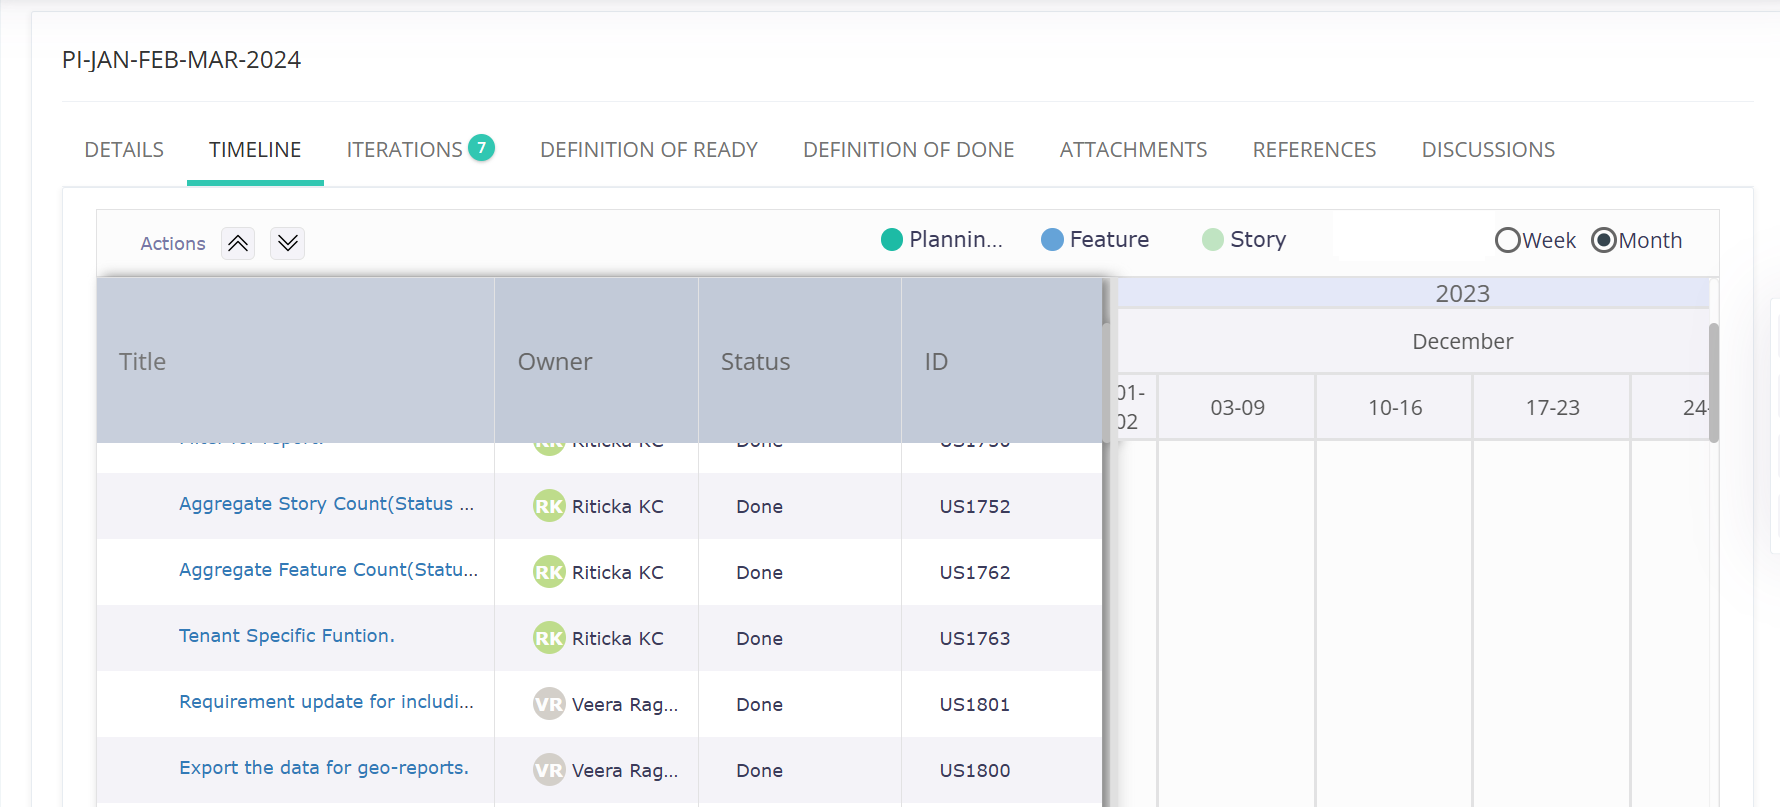
3: Navigate to the Timeline tab, and you will be able to view Title as the first column.
More Power to the Centralized Review Teams
Follow these steps for tagging Approvals under ODR
Gantt - Timeline chart to show Feature/Story Title as first column instead of ID
Follow these steps to view the changes